
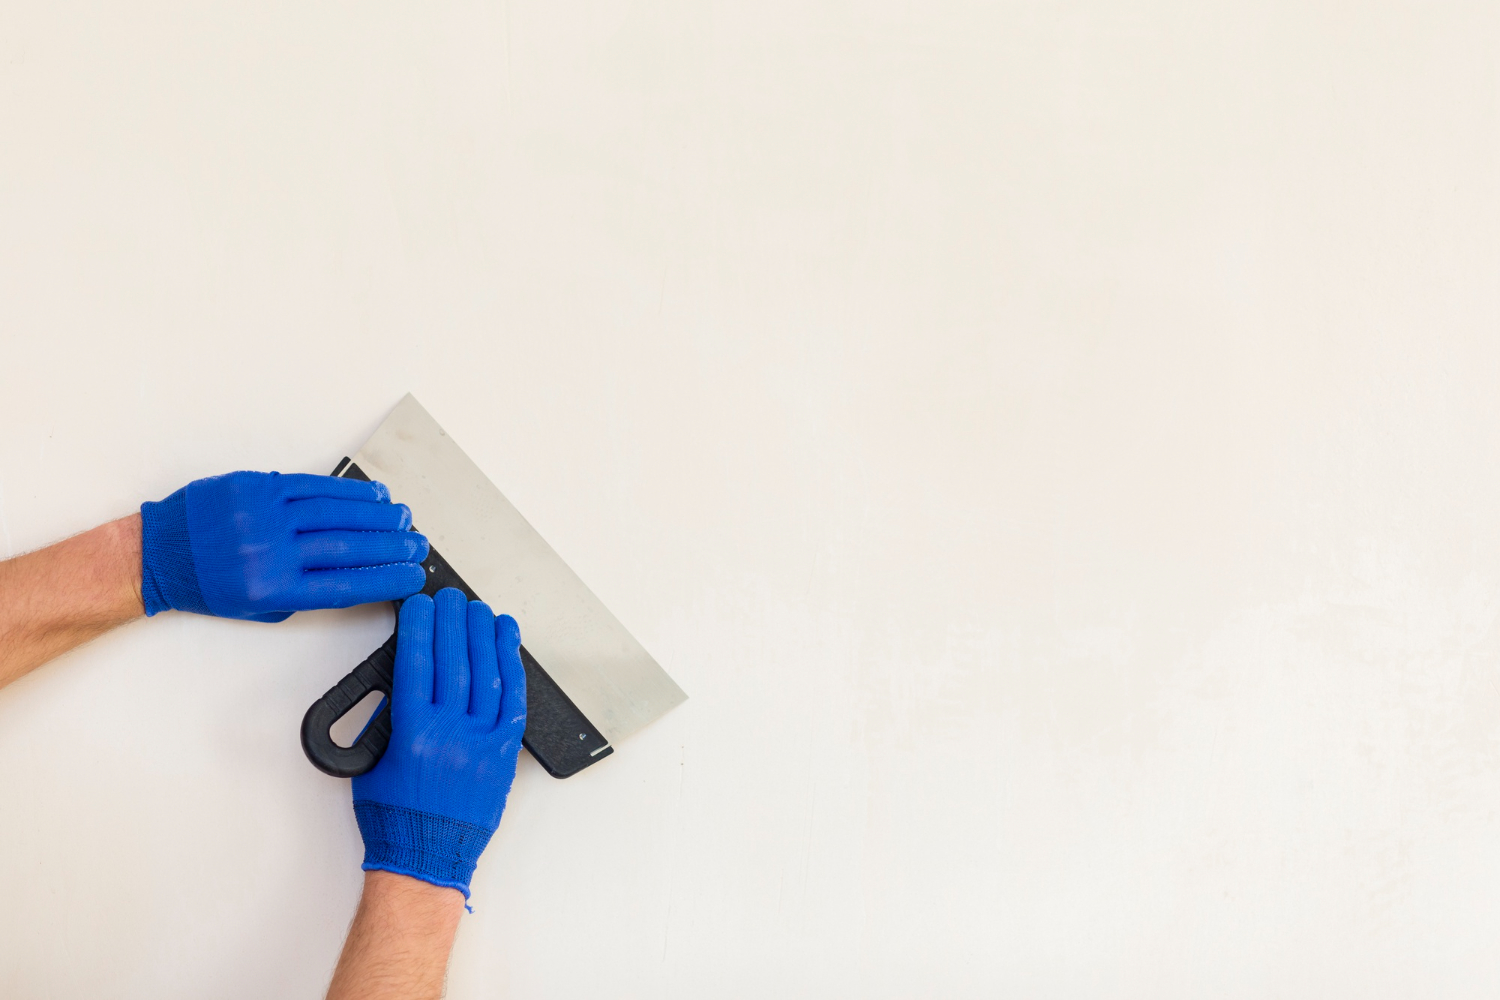
Walls take more abuse than most people realize. Furniture gets bumped, door handles swing too far, kids play indoors, and sometimes something just slips out of your hands at the worst possible moment. The result is usually the same: dents, dings, and small surface damage that make an otherwise clean wall look worn out.
The good news is that most interior wall damage is cosmetic. With a few basic tools and a little patience, you can restore the surface so well that no one will ever notice it was there.
Understanding the Type of Damage
Before grabbing a putty knife, it helps to identify what you’re dealing with. Not all wall imperfections are the same, and the repair approach depends on the depth and severity.
Most common wall issues fall into three categories:
- Small dings: shallow surface marks or chips in paint
- Dents: slightly deeper impressions where drywall has been compressed
- Gouges: more noticeable damage where the surface paper or material is torn
Small dings and dents are easy fixes. Gouges may require a bit more prep work, but still fall within a DIY-friendly range.
What You’ll Need
For most minor wall repairs, you don’t need specialized equipment. A simple repair kit will do the job:
- Lightweight spackle or wall filler
- Putty knife (2–4 inches is ideal)
- Fine-grit sandpaper (120–220 grit)
- Damp sponge or cloth
- Touch-up paint that matches your wall
Optional but useful:
- Primer (especially for deeper repairs)
- Sanding sponge for better control on curved surfaces
- Small paintbrush for blending edges
Step 1: Clean and Prep the Area
Start by wiping the damaged area gently with a damp cloth. Remove dust, loose paint, or any debris around the dent or ding.
If there are loose edges of paint or drywall paper, carefully trim them away. A clean surface helps the filler bond properly and prevents future cracking or peeling.
Let the area dry completely before moving on.
Step 2: Apply the Filler
Using your putty knife, scoop a small amount of spackle and press it firmly into the damaged area. The goal is to fill the depression completely, not just skim over the top.
Once filled, smooth the surface by dragging the putty knife across the patch at a slight angle. This helps remove excess material and blend the repair into the surrounding wall.
For deeper dents, it’s better to apply two thin layers rather than one thick one. Thick applications tend to shrink or crack as they dry.
Step 3: Let It Dry Fully
Drying time varies depending on the product and thickness of the patch, but most lightweight fillers dry within 30 minutes to a couple of hours.
Avoid sanding too soon. If the patch feels cool, soft, or slightly rubbery, it needs more time. Rushing this step is one of the most common reasons repairs look uneven.
Step 4: Sand Smooth
Once fully dry, gently sand the area using fine-grit sandpaper. Use light pressure and smooth, circular motions to blend the edges of the patch into the wall.
The goal isn’t to remove the patch—it’s to make it flush with the surrounding surface. If you can feel the repair with your hand, it will likely show through paint.
After sanding, wipe away dust with a clean cloth.
Step 5: Prime if Needed
For deeper dents or areas where bare drywall is exposed, applying a light coat of primer helps ensure even paint absorption.
Without primer, patched areas can sometimes appear slightly different in color or texture after painting, especially on matte or flat finishes.
Let the primer dry completely before moving to paint.
Step 6: Touch Up the Paint
Now comes the step that makes the repair disappear.
Using matching paint, lightly cover the patched area. Feather the edges outward so the new paint blends into the existing wall instead of creating a hard line.
If the wall has a satin or semi-gloss finish, blending may require a bit more care to avoid visible sheen differences. Flat paint is more forgiving and usually hides repairs more easily.
Common Mistakes to Avoid
Even simple wall repairs can go wrong if a few details are overlooked:
- Applying too much filler at once
- Skipping sanding or sanding too aggressively
- Painting before the patch is fully dry
- Ignoring primer on exposed drywall
- Leaving raised edges around the repair
Taking your time at each stage makes a noticeable difference in the final result.
When the Damage Is Bigger Than It Looks
Some wall dents may seem small on the surface but hide deeper issues underneath. If you notice any of the following, you may need a more involved repair:
- Cracks spreading from the dent
- Soft or crumbling drywall
- Water stains or bubbling paint
- Repeated damage in the same area
In those cases, a patch kit or reinforcement tape may be necessary before finishing.
A Simple Habit That Helps
If your walls tend to collect small dents over time, it’s worth keeping a small repair kit on hand—spackle, a putty knife, and sandpaper. Being able to fix damage as soon as it happens prevents buildup and keeps your walls looking consistently clean.
Fixing dents and dings in interior walls is one of those small home maintenance tasks that makes a surprisingly big visual difference.
It doesn’t require special training or expensive tools—just a steady hand and a bit of patience.
Once you’ve done it a few times, it becomes a quick, routine fix. And more importantly, it keeps your home looking cared for, even when life leaves a few marks behind.