
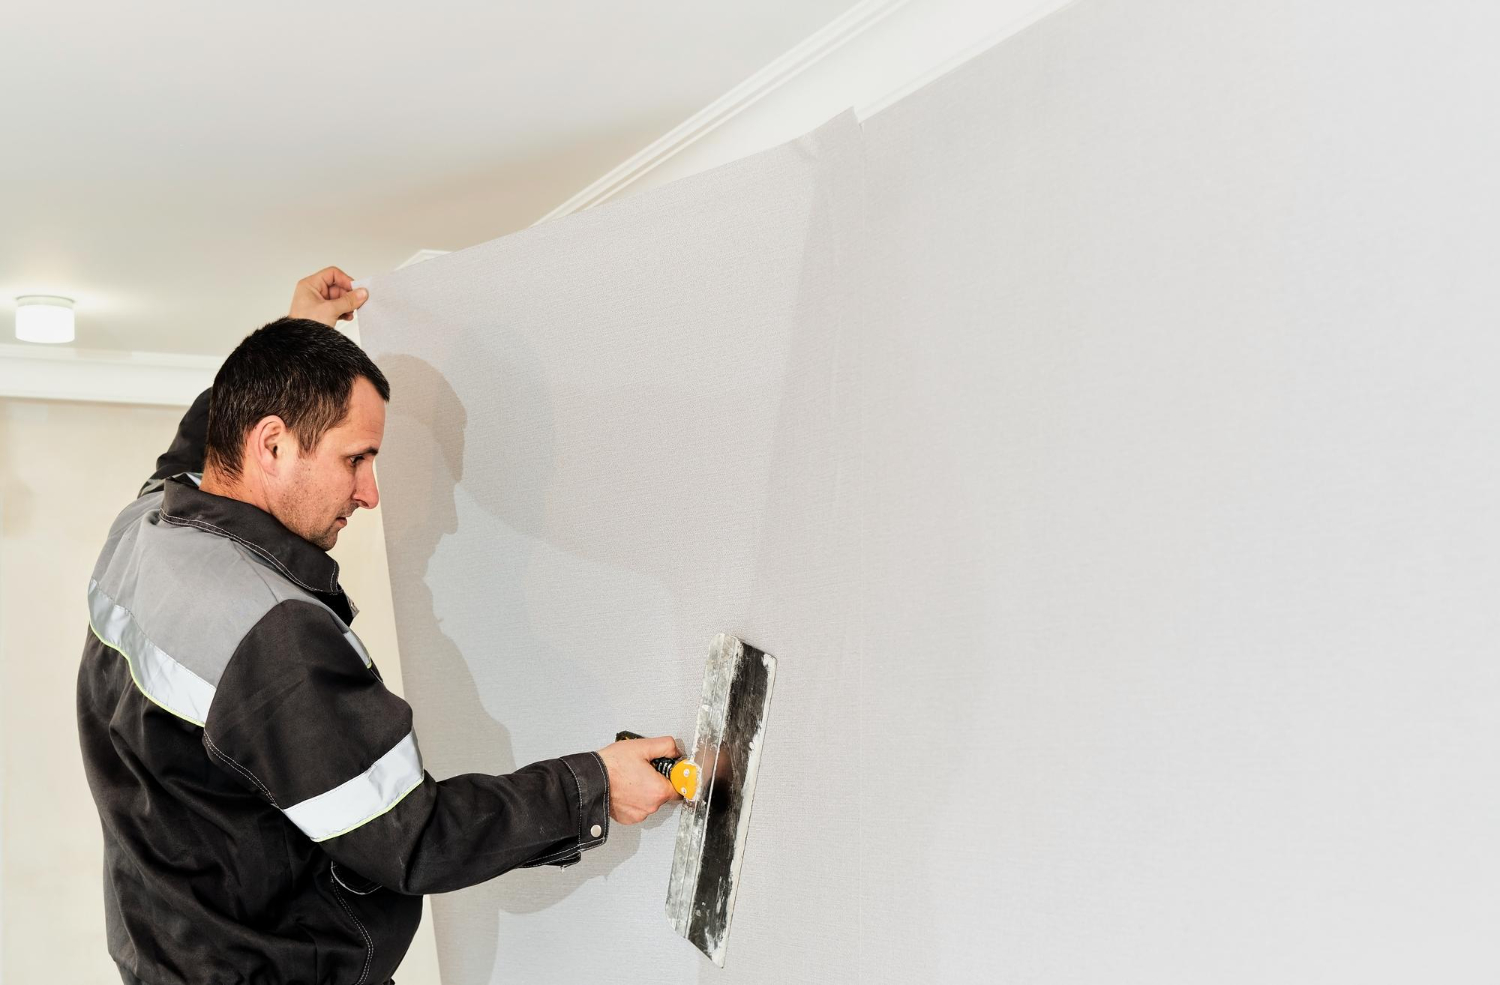
Wallpaper can add warmth, texture, and personality to a room, but over time, you may notice the edges beginning to lift. It often starts with a small corner peeling away from the wall, and if it’s ignored, that loose section can continue to spread until an entire seam begins to separate.
Fortunately, loose wallpaper edges are usually an easy fix. With the right adhesive and a little patience, you can secure the wallpaper before the damage becomes more noticeable—or more expensive to repair.
Why Wallpaper Edges Come Loose
Before making the repair, it’s helpful to understand why the wallpaper is lifting in the first place.
Common causes include:
- Changes in humidity and temperature
- Aging wallpaper adhesive
- Moisture from bathrooms or kitchens
- Dust or grease preventing proper adhesion
- Accidental bumps or snagging
- Poor installation or insufficient adhesive
If moisture from a leak is causing the wallpaper to lift, fix the source of the problem before repairing the wallpaper. Otherwise, the adhesive may fail again.
What You’ll Need
Most loose wallpaper repairs require only a few basic supplies:
- Wallpaper seam adhesive or wallpaper repair glue
- Small paintbrush or cotton swab
- Plastic smoothing tool or wallpaper roller
- Damp sponge or microfiber cloth
- Utility knife (if trimming is needed)
- Painter’s tape (optional)
Using adhesive specifically designed for wallpaper usually provides better results than general-purpose glue.
Step 1: Clean the Area
Dust, dirt, and old adhesive can prevent the wallpaper from sticking properly.
Carefully lift the loose edge just enough to clean underneath. Wipe both the wall and the back of the wallpaper with a slightly damp cloth to remove any debris.
Allow the area to dry completely before applying new adhesive.
Step 2: Apply Wallpaper Adhesive
Using a small brush, cotton swab, or the applicator included with the adhesive, spread a thin, even layer beneath the lifted edge.
Be careful not to apply too much glue. Excess adhesive can squeeze out from the seam and create a messy finish that’s difficult to clean once it dries.
Aim for complete coverage without overloading the paper.
Step 3: Press the Wallpaper Back Into Place
Gently press the wallpaper back against the wall, starting from the center of the repaired area and working toward the edges.
This helps push out trapped air while distributing the adhesive evenly underneath.
Take your time to line up patterns carefully if you’re repairing a seam.
Step 4: Smooth Out Air Bubbles
Use a wallpaper seam roller or a plastic smoothing tool to press the wallpaper firmly against the wall.
Roll with light pressure from the center outward to remove:
- Air pockets
- Wrinkles
- Excess adhesive
Avoid using metal tools, which can scratch or tear delicate wallpaper.
Step 5: Wipe Away Excess Glue
If adhesive squeezes out during smoothing, wipe it away immediately using a damp sponge or soft cloth.
Don’t scrub the wallpaper. A gentle wipe is usually enough to remove fresh adhesive without damaging the surface.
Leaving glue on the wallpaper can result in shiny spots or discoloration after it dries.
Step 6: Allow the Repair to Dry
Leave the repaired area undisturbed while the adhesive cures.
Depending on the product, drying may take several hours. During this time:
- Avoid pulling on the repaired edge.
- Keep the room well ventilated.
- Follow the adhesive manufacturer’s drying recommendations.
If necessary, a small piece of painter’s tape can temporarily hold stubborn edges in place while the adhesive dries. Remove the tape carefully once the glue has fully cured.
Repairing Loose Wallpaper Seams
If an entire seam has begun separating rather than just a corner, the process is similar but requires a bit more attention.
Apply adhesive along the full length of the seam, then smooth it carefully so both edges align without overlapping.
Work slowly to maintain the wallpaper pattern and create an even seam that’s difficult to notice once dry.
When Wallpaper Won’t Stick
Sometimes repeated lifting indicates a larger issue.
The wallpaper may continue to separate if:
- The wall has moisture damage.
- Old adhesive has completely failed.
- The wallpaper backing is deteriorating.
- The wall surface wasn’t properly prepared before installation.
In these situations, replacing the damaged section—or even the entire strip—may provide a better long-term solution than repeated spot repairs.
Preventing Future Peeling
A few simple habits can help keep wallpaper firmly attached for years.
- Control indoor humidity with proper ventilation.
- Use exhaust fans in bathrooms and kitchens.
- Avoid directing heat or air conditioning vents at wallpaper seams.
- Clean wallpaper gently using products recommended for its material.
- Address water leaks promptly.
Stable temperature and humidity levels help wallpaper adhesive remain effective over time.
Common Mistakes to Avoid
To achieve the best-looking repair, avoid these common errors:
- Using too much adhesive
- Pulling the wallpaper too tightly
- Leaving air bubbles beneath the paper
- Failing to clean away excess glue
- Ignoring moisture problems before repairing
Most wallpaper repairs succeed when they’re done patiently rather than quickly.
Loose wallpaper edges may seem like a minor cosmetic issue, but repairing them early can prevent larger sections from peeling away later.
With the proper adhesive, a careful application, and a few simple tools, most homeowners can restore lifting wallpaper in less than an hour.
By taking the time to clean the area, apply adhesive evenly, and smooth the wallpaper back into place, you can extend the life of your walls and keep your room looking neat and well cared for. Small repairs today often prevent much bigger projects tomorrow.