
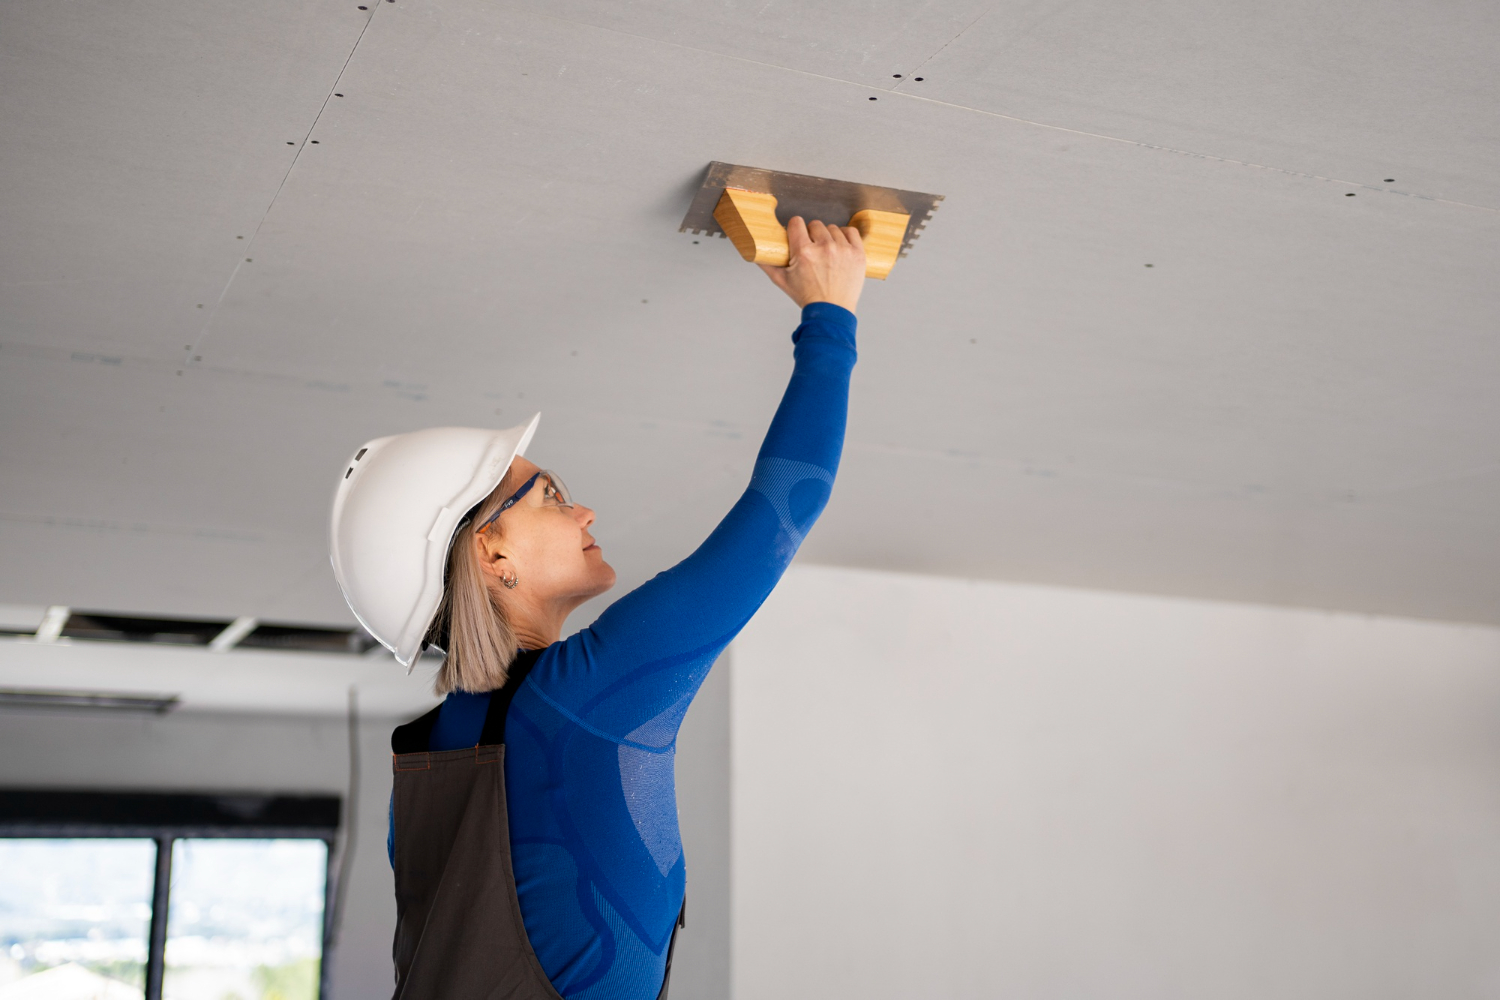
It’s easy to overlook your ceiling—until a crack appears. Whether it’s a thin line running across the drywall or a small crack near the corner of a room, even minor ceiling cracks can catch your eye every time you look up. While they can be alarming, many are simply the result of normal house settling or seasonal expansion and contraction.
The key is knowing which cracks are cosmetic and can be repaired yourself, and which may point to a larger structural issue. For small, non-structural cracks, a few basic tools and a little patience are usually all it takes to restore a smooth, clean ceiling.
What Causes Ceiling Cracks?
Not every ceiling crack means there’s a serious problem. In fact, many develop naturally over time as a house ages.
Common causes include:
- Normal settling of the home
- Seasonal changes in temperature and humidity
- Drywall joints expanding and contracting
- Minor vibrations from everyday household activity
- Small shifts in framing over time
Hairline cracks are especially common in newer homes as building materials settle during the first few years.
When a Crack Needs Professional Attention
Before starting a repair, inspect the crack carefully.
Consider consulting a professional if you notice:
- Cracks wider than 1/8 inch
- Sagging or bulging sections of the ceiling
- Water stains or damp areas
- Multiple cracks appearing suddenly
- Doors and windows becoming difficult to open at the same time
- Cracks that continue to grow after being repaired
These signs could indicate water damage, foundation movement, or structural concerns that should be addressed before any cosmetic repair.
What You’ll Need
For most minor ceiling crack repairs, gather the following supplies:
- Utility knife
- Putty knife
- Lightweight joint compound or spackling
- Fine-grit sandpaper (180–220 grit)
- Sanding sponge or sanding block
- Primer
- Matching ceiling paint
- Drop cloth
- Safety glasses
- Dust mask
A sturdy step ladder is also essential so you can work comfortably without overreaching.
Step 1: Prepare the Crack
Although it may seem counterintuitive, slightly widening a hairline crack helps create a stronger repair.
Use the corner of a putty knife or a utility knife to gently remove any loose drywall compound or flaking paint along the crack.
Don’t dig deeply—just create a clean, solid surface for the new compound to bond with.
Afterward, wipe away dust using a dry cloth or soft brush.
Step 2: Apply Joint Compound
Using a putty knife, spread a thin layer of joint compound over the crack.
Press the compound firmly into the opening, then smooth it across the surrounding area using long, even strokes.
For very small cracks, one coat may be enough. Slightly larger cracks may require two or three thin applications rather than one thick layer.
Allow each coat to dry completely before adding another.
Step 3: Sand the Surface
Once the compound has fully dried, lightly sand the repair until it blends seamlessly with the surrounding ceiling.
Use gentle pressure to avoid creating low spots.
Run your hand carefully across the repair. If you can feel a ridge, it will probably remain visible after painting.
Wipe away all sanding dust before moving to the next step.
Step 4: Prime the Repair
Primer helps seal the repaired area and creates an even surface for paint.
Skipping primer can result in the repaired section absorbing paint differently than the surrounding ceiling, leaving a noticeable patch.
Apply a light coat and allow it to dry according to the manufacturer’s instructions.
Step 5: Repaint the Ceiling
Once the primer has dried, apply matching ceiling paint using a small roller or brush.
Feather the paint slightly beyond the repaired area to blend it into the existing finish.
If the ceiling hasn’t been painted in several years, you may find that repainting the entire ceiling produces the most uniform appearance.
What About Drywall Tape?
If the crack keeps returning in the same location, it may be forming along a drywall joint.
In that case, reinforcing the repair with drywall joint tape before applying compound can provide additional strength and help reduce the chance of future cracking.
This approach requires a bit more work but often creates a more durable repair.
Tips for a Better Finish
A few simple techniques can improve the final result:
- Apply several thin coats instead of one thick coat.
- Let each layer dry completely before sanding.
- Use fine-grit sandpaper for the final pass.
- Keep your putty knife clean while applying compound.
- Work in good lighting so you can spot uneven areas before painting.
Taking your time during preparation usually leads to a repair that’s virtually invisible once painted.
Common Mistakes to Avoid
Many ceiling repairs become more noticeable because of simple mistakes.
Avoid:
- Applying too much joint compound
- Sanding before the compound has fully dried
- Skipping primer
- Painting over dust
- Ignoring signs of water damage
Good preparation is often more important than the repair itself.
Preventing Future Ceiling Cracks
While you can’t stop every small crack from forming, you can reduce the likelihood of recurring problems by:
- Maintaining consistent indoor humidity
- Repairing roof or plumbing leaks promptly
- Addressing water stains immediately
- Keeping your home’s heating and cooling system functioning properly
Stable environmental conditions help minimize the expansion and contraction that often causes cosmetic cracking.
Minor ceiling cracks are a common part of homeownership and are often nothing more than a cosmetic issue.
With a few basic tools, some joint compound, and careful preparation, you can repair most hairline cracks in an afternoon and restore a smooth, finished appearance.
The key is to identify whether the crack is simply cosmetic or a sign of something more serious. Once you’ve ruled out structural or moisture-related problems, a careful repair followed by primer and paint can leave your ceiling looking as good as new.