
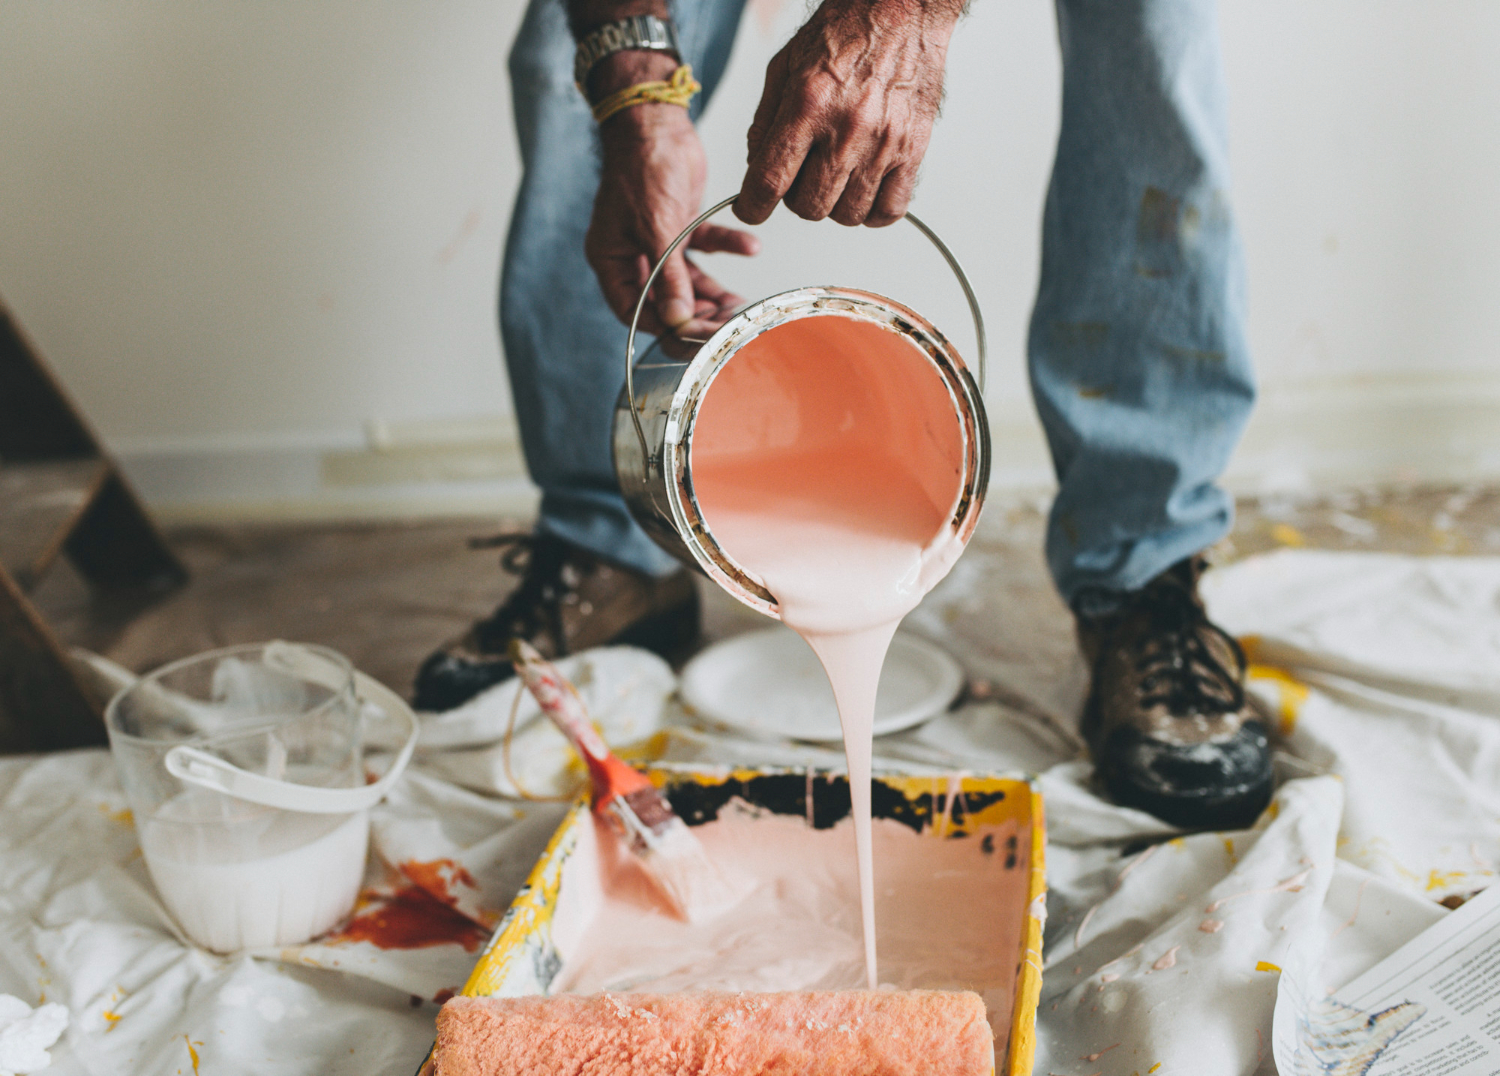
A fresh coat of paint can completely transform a room, but even the highest-quality paint won’t look its best if it’s applied over a poorly prepared surface. Peeling paint, rough patches, dust, and small imperfections can all show through the finished coat, leaving you with results that are less than satisfying.
The secret to a professional-looking paint job isn’t just in the painting—it’s in the preparation. Spending a little extra time getting your walls ready will help the paint go on more smoothly, last longer, and create a finish you’ll be proud of.
Start by Clearing the Room
Before you open a paint can, make the space easier to work in.
Move furniture to the center of the room or, if possible, remove it entirely. Cover anything that remains with plastic sheeting or drop cloths to protect it from dust and paint splatters.
Next, remove:
- Wall art
- Curtains and curtain hardware
- Outlet and light switch covers
- Shelving or removable wall fixtures
A few minutes spent clearing the room makes painting faster and helps produce cleaner edges.
Inspect the Walls Carefully
Good lighting can reveal flaws that are easy to miss during everyday use.
Walk around the room and look for:
- Nail and screw holes
- Dents and dings
- Cracks
- Peeling or chipped paint
- Water stains
- Loose wallpaper edges
- Scuff marks
Mark any areas that need attention with a small piece of painter’s tape so you don’t overlook them later.
Clean the Walls
Even walls that look clean often have a thin layer of dust, grease, or fingerprints that can interfere with paint adhesion.
Use a soft sponge or microfiber cloth with warm water and a mild detergent to wipe down the walls. Kitchens may require a degreasing cleaner to remove cooking residue, while bathrooms often need extra attention to remove soap residue or mildew.
After cleaning, rinse the walls with clean water if necessary and allow them to dry completely.
Repair Any Damage
Painting won’t hide wall damage—in fact, it often makes imperfections more noticeable.
Take the time to repair:
- Small nail holes with spackling
- Minor dents with lightweight filler
- Hairline cracks with joint compound
- Larger holes using a drywall patch kit
- Peeling paint by scraping and sanding the affected area
Allow all repairs to dry thoroughly before moving on.
Sand the Surface
Once repairs have dried, lightly sand patched areas until they’re smooth and level with the surrounding wall.
If the existing paint has a glossy finish, lightly sanding the entire wall can also improve adhesion for the new paint.
Use fine-grit sandpaper and avoid applying too much pressure. You’re simply creating a smooth, slightly textured surface for the paint to grip.
When you’re finished, wipe away all sanding dust with a damp cloth or microfiber towel.
Check for Moisture Problems
Before painting, make sure there are no unresolved moisture issues.
Watch for:
- Soft drywall
- Water stains
- Bubbling paint
- Mold or mildew
- Damp spots
Painting over moisture problems only hides them temporarily. Address the source of the issue first, whether it’s a plumbing leak, roof leak, or poor ventilation.
Apply Painter’s Tape
Painter’s tape helps create clean lines and protects areas you don’t want to paint.
Apply it around:
- Baseboards
- Door and window trim
- Ceiling edges
- Built-in cabinets
- Light fixtures
Press the tape firmly along the edges to prevent paint from seeping underneath.
Decide Whether Primer Is Needed
Not every painting project requires primer, but in many cases, it’s a worthwhile step.
Primer is recommended if you’re:
- Painting over repaired drywall
- Covering dark colors with lighter paint
- Painting bare drywall
- Covering stains
- Switching between very different paint finishes
Primer creates a uniform surface and helps the topcoat adhere more evenly.
Gather Your Painting Supplies
Before you begin, make sure everything you need is within reach.
A basic painting setup includes:
- Paint rollers and covers
- Angled paintbrush
- Paint tray
- Roller extension pole
- Stir stick
- Drop cloths
- Ladder or step stool
- Clean rags
Having everything ready before you start helps you work efficiently without unnecessary interruptions.
Don’t Forget Ventilation
Fresh paint and primer can produce fumes, even with low-VOC products.
Whenever possible:
- Open windows
- Use ceiling or box fans
- Keep doors open to improve airflow
Good ventilation also helps paint dry more evenly.
Common Preparation Mistakes
Many disappointing paint jobs can be traced back to skipped preparation.
Avoid these common mistakes:
- Painting over dirty walls
- Ignoring cracks or holes
- Skipping sanding after repairs
- Forgetting to remove dust
- Applying paint to damp surfaces
- Using primer only when it’s truly needed—but skipping it when it’s essential
Taking the time to prepare properly often has a greater impact on the finished result than the painting itself.
Final Walk-Through Before Painting
Before opening the paint, do one last inspection.
Ask yourself:
- Are all repairs smooth?
- Is the wall clean and dry?
- Have all dust and debris been removed?
- Is painter’s tape firmly in place?
- Do I have all the tools I need?
A quick final check can prevent interruptions and help ensure a smooth painting process.
Preparing walls before painting may not be the most exciting part of the project, but it’s the foundation of a great finish.
Clean surfaces, properly repaired imperfections, careful sanding, and the right primer all contribute to paint that looks better and lasts longer.
Whether you’re refreshing a single room or repainting your entire home, taking the time to prepare your walls will pay off every time you step back to admire the finished result. A little extra effort before the first brushstroke can make the difference between an average paint job and one that looks professionally done.