
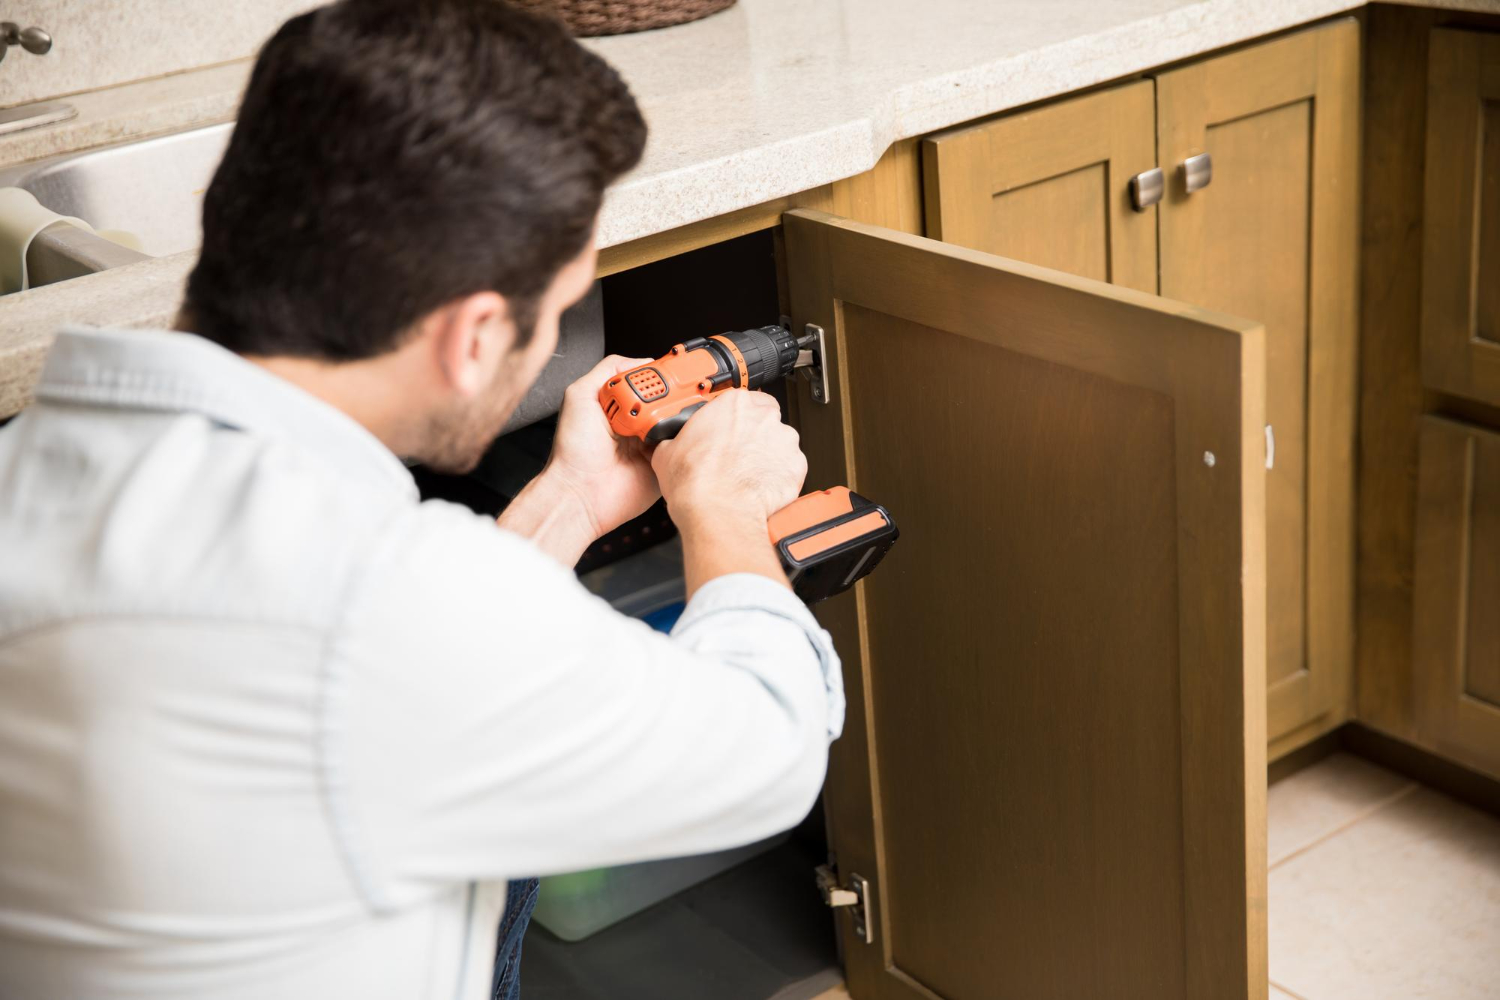
Replacing cabinet hardware is one of the quickest and most affordable ways to update a kitchen, bathroom, laundry room, or home office. Swapping out old knobs and pulls can give cabinets a fresh, modern look without the cost or hassle of a full renovation. Better yet, it’s a project that most homeowners can complete in just a few hours using basic tools.
Whether you’re replacing worn hardware or giving your cabinets a new style, this guide will walk you through the process from start to finish.
Why Replace Cabinet Hardware?
Cabinet hardware sees daily use, so it’s no surprise that it can become worn over time. Finishes may fade, knobs can loosen, and styles that once looked trendy may begin to feel outdated.
Replacing hardware can:
- Refresh the appearance of a room
- Improve functionality
- Match updated appliances or fixtures
- Replace damaged or loose handles
- Increase the overall value and appeal of your home
It’s a small upgrade that often makes a surprisingly big visual impact.
Decide Between Knobs and Pulls
Before shopping, think about the style and function you want.
Knobs are compact, affordable, and work well on cabinet doors. They’re available in countless shapes, finishes, and materials.
Pulls offer a larger gripping surface and are often easier to use, especially on drawers or larger cabinet doors. They also create a more contemporary appearance in many kitchens.
Many homeowners combine the two, using knobs on doors and pulls on drawers for a balanced, practical design.
Measure Before You Buy
One of the biggest mistakes people make is purchasing new hardware without measuring the existing pieces.
If you’re replacing cabinet pulls, measure the center-to-center distance—the space between the centers of the two mounting holes.
Common sizes include:
- 3 inches (76 mm)
- 3¾ inches (96 mm)
- 5 inches (128 mm)
- 6¼ inches (160 mm)
Matching the existing hole spacing allows you to install new pulls without drilling additional holes.
For knobs, only a single mounting hole is needed, making replacements much simpler.
Choose the Right Finish
The finish you choose can dramatically change the look of your cabinets.
Popular options include:
- Brushed nickel
- Matte black
- Satin brass
- Polished chrome
- Oil-rubbed bronze
- Antique brass
- Stainless steel
For a cohesive design, many homeowners choose hardware that complements nearby faucets, light fixtures, or appliances. While everything doesn’t have to match perfectly, coordinating finishes creates a more polished appearance.
Gather Your Tools
You’ll need only a few basic tools for most hardware replacement projects:
- Phillips screwdriver
- Drill or cordless driver (optional)
- Measuring tape
- Cabinet hardware template (optional but helpful)
- Pencil
- Level
- Wood filler (if covering old holes)
- Touch-up paint or stain (if needed)
A hardware template can make installation much faster and helps ensure consistent placement.
Step 1: Remove the Old Hardware
Open the cabinet door or drawer and remove the mounting screws from the back.
Support the knob or pull with your other hand so it doesn’t fall and scratch the cabinet surface.
If the hardware has been in place for many years, the screws may be tight. Applying steady pressure with a properly sized screwdriver usually prevents stripped screw heads.
Step 2: Clean the Cabinet Surface
After removing the old hardware, take a moment to clean the area.
Years of use often leave behind grease, fingerprints, or dust that were hidden beneath the old knobs or pulls.
A mild cleaner and soft cloth are usually all that’s needed. Starting with a clean surface gives your cabinets a fresher appearance and helps the new hardware sit flush.
Step 3: Test the New Hardware
Before tightening every screw, loosely install a few pieces to confirm:
- The hole spacing matches.
- The finish looks right in the room.
- The size feels comfortable.
- The hardware doesn’t interfere with nearby doors or drawers.
It’s much easier to make changes before every piece has been installed.
Step 4: Install the New Hardware
Insert the mounting screws from inside the cabinet or drawer and thread them into the knob or pull.
Tighten the screws until the hardware feels secure, but avoid overtightening. Too much force can strip the screw threads or damage wood cabinet doors.
Check that each piece is straight before fully tightening.
What If the New Hardware Doesn’t Match the Old Holes?
Sometimes homeowners choose larger or differently sized hardware during an update.
If the existing holes don’t align:
- Fill unused holes with wood filler.
- Sand the repaired area smooth once dry.
- Touch up the paint or stain if necessary.
- Measure carefully before drilling new holes.
Using a cabinet hardware jig or template helps keep new holes perfectly aligned throughout the project.
Keep Everything Consistent
Consistency is what makes cabinet hardware look professionally installed.
As you work, periodically check that:
- Pulls are level.
- Knobs are mounted at the same height.
- Drawer handles align evenly across cabinets.
- Screw heads are fully tightened.
Small adjustments during installation create a much cleaner finished appearance.
Common Mistakes to Avoid
Many cabinet hardware projects run into trouble because of simple oversights.
Avoid these common mistakes:
- Buying hardware without measuring the existing hole spacing.
- Mixing different installation heights.
- Overtightening screws.
- Drilling new holes without measuring twice.
- Choosing handles that are too large or too small for the cabinet size.
Taking accurate measurements before installation saves time and prevents unnecessary repairs.
When to Replace More Than the Hardware
Sometimes replacing the hardware alone isn’t enough.
If your cabinets have:
- Loose hinges
- Cracked doors
- Peeling laminate
- Water damage
- Sagging drawers
it may be worth addressing those issues at the same time. Fresh hardware looks its best on cabinets that are clean, sturdy, and properly aligned.
Replacing cabinet hardware is one of the simplest home improvement projects with one of the biggest visual payoffs.
In just a few hours, you can give outdated cabinets a fresh new look without the expense of replacing them.
By measuring carefully, choosing quality hardware, and taking your time during installation, you’ll end up with cabinets that not only look better but also feel better to use every day. It’s a small project that can make an entire room feel updated, polished, and more enjoyable to live in.