
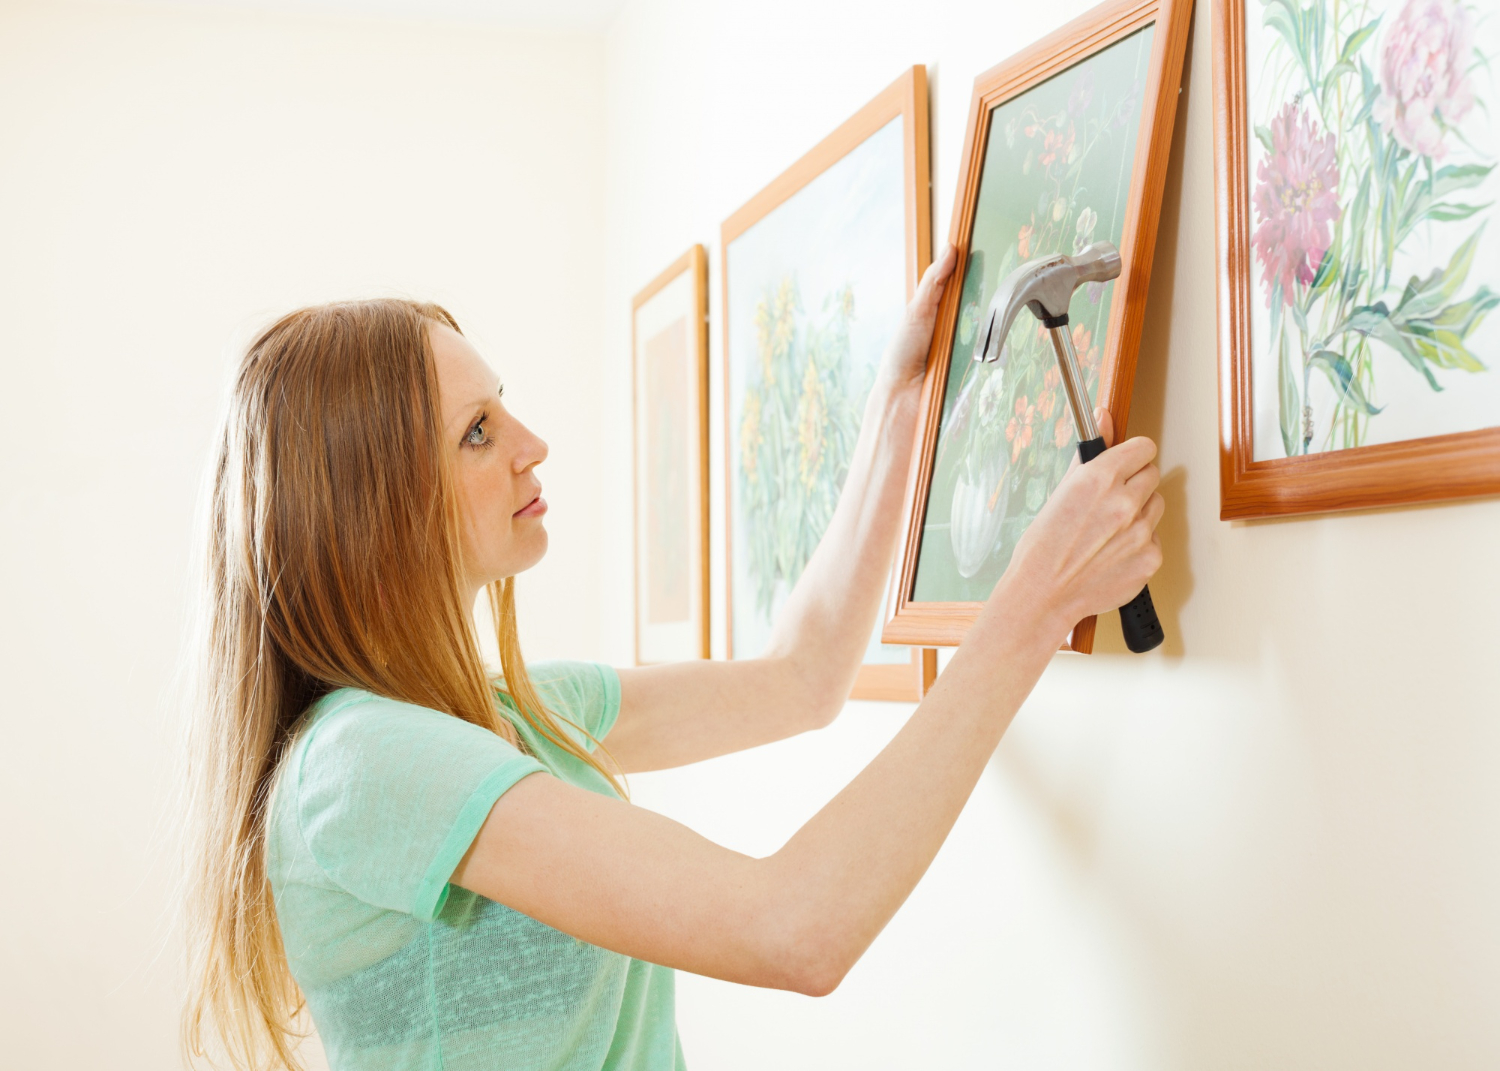
Hanging pictures might seem like one of the simplest home projects, but it’s also one of the easiest to get wrong. A frame that looks level today can shift over time, and a mount that feels solid can fail if it isn’t anchored properly. The difference between a clean, professional-looking display and a crooked or fallen frame usually comes down to a few basic decisions made before the first hole is drilled.
The good news is that hanging pictures securely doesn’t require advanced tools—just the right hardware, a bit of planning, and an understanding of what’s behind your wall.
Start by Choosing the Right Spot
Before picking up a hammer or drill, take time to decide where the picture should go.
A few simple guidelines help:
- Center artwork at eye level in most living spaces
- Keep frames aligned with furniture (like sofas or headboards)
- Avoid placing heavy frames above high-traffic areas where they could fall on someone
- Step back often to check balance and spacing
Using painter’s tape to outline the frame size on the wall can help you visualize placement before committing.
Know What Type of Wall You’re Working With
The strength of your hanging method depends heavily on the wall itself.
Most homes have:
- Drywall over wood studs
- Plaster over lath (common in older homes)
- Masonry or brick in some areas
Drywall alone can only hold light weight without anchors. Studs or masonry provide the strongest support.
If possible, use a stud finder to locate wall studs. Hanging directly into a stud is the most secure method for heavier frames.
Light Pictures: Simple Hooks or Nails
For small, lightweight frames, you usually don’t need heavy hardware.
Options include:
- Picture hanging nails
- Small wall hooks
- Adhesive picture strips (for very light frames only)
These work well for photos, small art prints, and lightweight decor. Even then, make sure the nail or hook is angled slightly upward to help distribute weight.
Medium Weight Frames: Use Wall Anchors
Once a frame gets heavier, relying on a simple nail in drywall isn’t enough.
Instead, use wall anchors such as:
- Plastic expansion anchors
- Self-drilling anchors
- Toggle bolts (for heavier loads)
These distribute weight behind the wall surface, reducing the risk of pull-out.
A general rule: if a frame feels like it has real heft when you lift it with one hand, it likely needs an anchor.
Heavy Pictures: Anchor Into Studs
Large mirrors, framed artwork, and heavy wall decor should ideally be mounted directly into wall studs.
To do this:
- Locate studs using a stud finder
- Mark the mounting points
- Use screws long enough to penetrate deep into the stud
- Ensure hardware is rated for the weight of the item
Stud mounting is the most reliable method for long-term stability.
Use the Right Hanging Hardware on the Frame
The back of the frame matters just as much as the wall.
Common options include:
- Sawtooth hangers (for lightweight frames)
- D-rings or keyhole brackets (for medium to heavy frames)
- Wire hangers stretched between two points (must be rated for weight)
Make sure the hardware on the frame is secure before hanging anything. Loose or bent brackets are a common cause of crooked pictures.
Measure Carefully Before Drilling
One of the easiest mistakes is rushing placement.
To avoid multiple holes:
- Measure the distance from the top of the frame to the hanging point
- Mark the wall at that exact height
- Double-check alignment with a level
- Use painter’s tape as a visual guide
A few extra minutes of measuring can prevent unnecessary patchwork later.
Always Use a Level
Even a slightly crooked frame stands out immediately.
A simple bubble level—or a level app on your phone—can help ensure accuracy.
For multiple frames:
- Start from a center point
- Work outward evenly
- Keep spacing consistent between frames
Symmetry matters more than perfection down to the millimeter.
Don’t Rely on Adhesive Strips for Everything
Adhesive hooks and strips can be useful, but they have limits.
They are best for:
- Lightweight frames
- Temporary displays
- Smooth, clean wall surfaces
They are not ideal for:
- Heavy frames
- Humid areas (like bathrooms)
- Textured or dusty walls
- Long-term mounting of valuable items
When in doubt, use mechanical fasteners instead.
Watch for Hidden Obstacles
Before drilling, consider what might be inside the wall:
- Electrical wiring
- Plumbing pipes
- HVAC ducts
A stud finder with wire detection can help reduce the risk of drilling into something hidden. Avoid placing holes directly above or below outlets and switches when possible.
Use Two Hanging Points for Stability
For medium and large frames, two hanging points are better than one.
This helps:
- Keep the frame level
- Prevent shifting over time
- Distribute weight evenly
Many frames already come with dual mounting hardware for this reason.
Double-Check Weight Ratings
Every hook, anchor, or strip has a weight limit. Exceeding it—even slightly—can lead to failure over time.
When selecting hardware, always:
- Check manufacturer weight ratings
- Account for frame plus glass weight
- Choose hardware rated above the actual load
A small safety margin goes a long way.
Avoid Common Mistakes
A few simple errors cause most picture-hanging problems:
- Using nails alone for heavy frames
- Skipping anchors in drywall
- Ignoring stud locations
- Measuring only once
- Hanging too high on the wall
- Not using a level
Most of these are easy to fix with a bit more preparation.
When It’s Worth Taking Extra Care
Some situations call for more precision than usual:
- Hanging expensive or irreplaceable artwork
- Mounting large mirrors
- Installing gallery walls with multiple frames
- Hanging items above furniture or beds
In these cases, take extra time to measure, anchor properly, and confirm alignment.
Hanging pictures securely isn’t just about making a wall look good—it’s about ensuring that what you hang stays safely in place.
With the right combination of planning, proper hardware, and attention to detail, you can avoid crooked frames, unnecessary wall damage, and the frustration of repeated adjustments.
A well-hung picture doesn’t just stay up—it becomes part of the room without you ever having to think about it again.