
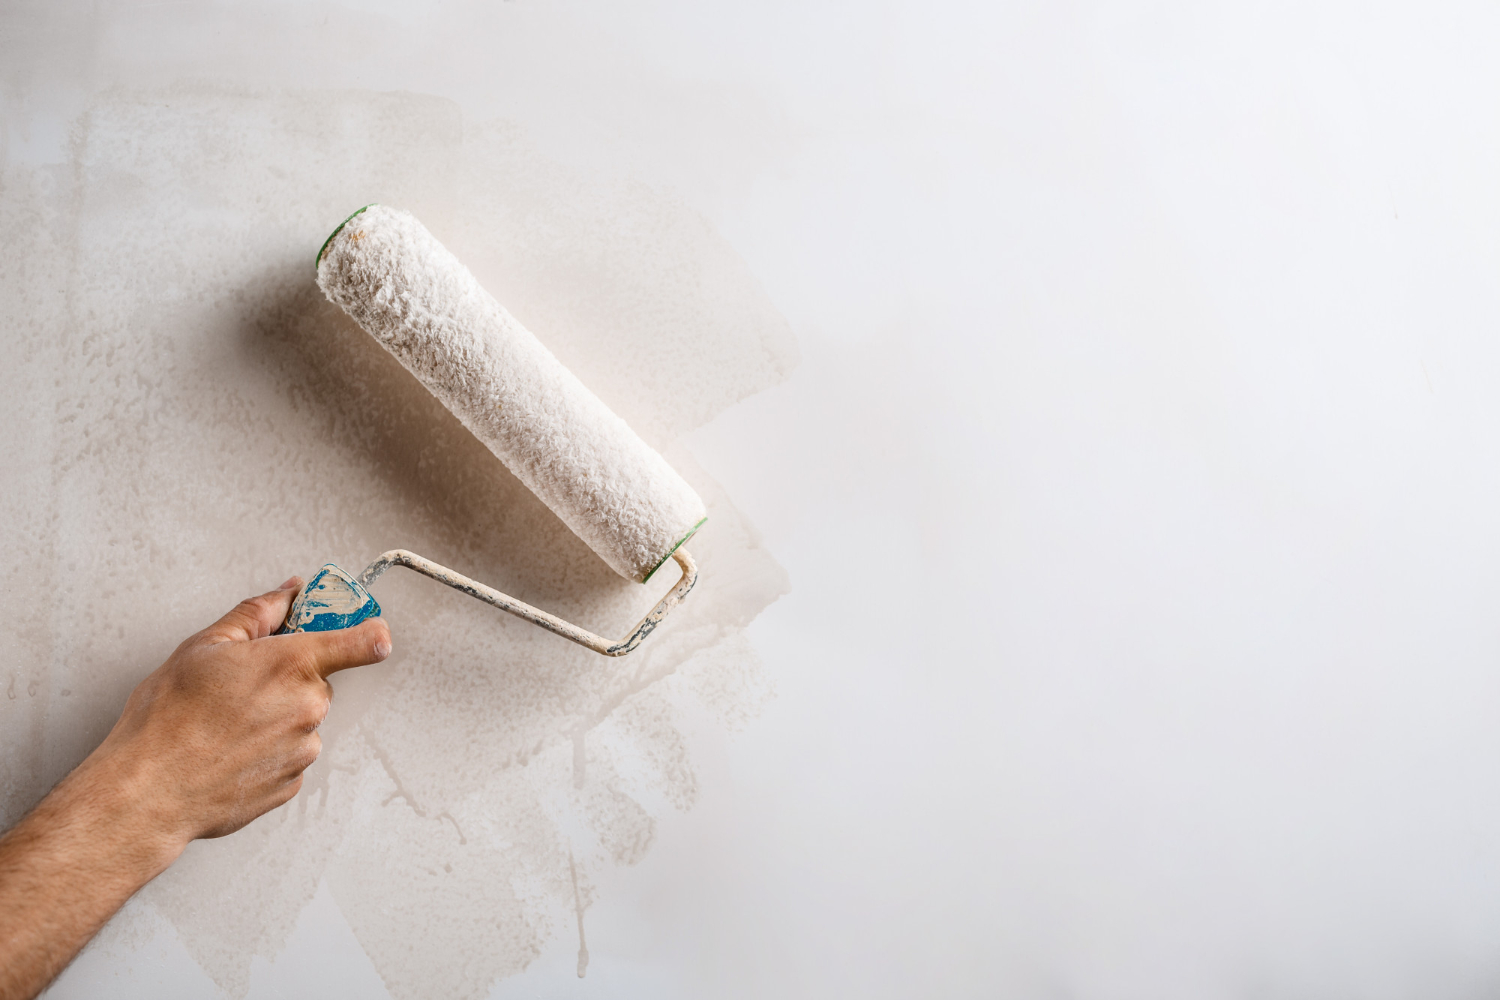
Walls take more daily abuse than most people realize. Furniture gets bumped, scuffs appear near doorways, nail holes accumulate over time, and sunlight slowly changes paint color. Eventually, even a well-painted room starts to look a little tired—not because the paint is failing, but because life has left its marks behind.
Touch-up painting is the simplest way to refresh a space without repainting an entire room. Done carefully, it can make small imperfections disappear. Done poorly, it can leave obvious patches that draw even more attention than the original damage.
The difference usually comes down to preparation, technique, and patience.
Start with the Right Paint
The most important part of a successful touch-up happens before you open the can.
Ideally, you should have:
- The original paint can with label information
- Exact color name and finish (matte, eggshell, satin, semi-gloss)
- Leftover paint stored properly
Even slight differences in sheen or formula can make a touch-up stand out under light.
If you don’t have the original paint, take a small sample (if possible) to a paint store for color matching.
Understand Why Touch-Ups Sometimes Show
Many beginners are surprised when their touch-ups don’t blend perfectly.
This usually happens because of:
- Fading of the existing wall paint over time
- Differences in paint sheen after drying
- Rolling vs. brushing texture differences
- Uneven application thickness
- Dirt or oils on the wall surface
Knowing this ahead of time helps you adjust expectations and technique.
Clean the Area First
Paint won’t stick properly to dirty surfaces.
Before touching up:
- Wipe the area with a damp cloth
- Remove dust, grease, or fingerprints
- Let the wall dry completely
For kitchen or high-traffic areas, a mild soap solution may be needed to remove buildup.
Lightly Sand the Damaged Spot
Smooth surfaces help new paint blend more naturally.
Use fine-grit sandpaper to:
- Feather rough edges around chips or scuffs
- Smooth raised drywall patches
- Remove loose paint flakes
After sanding, wipe away dust before applying paint.
Use the Right Tool for the Size of the Repair
Tool choice matters more than most beginners expect.
- Small chips: artist brush or foam brush
- Medium spots: small trim brush
- Larger areas: mini roller for better texture match
Avoid using overly large brushes for small repairs, as they often leave visible overlap marks.
Apply Thin Layers Instead of One Heavy Coat
One of the most common mistakes is applying too much paint at once.
Instead:
- Apply a light first coat
- Let it dry fully
- Add a second thin coat if needed
Thin layers blend better and reduce visible edges.
Feather the Edges
Feathering helps new paint transition into old paint more smoothly.
To do this:
- Lightly drag the brush outward from the repair area
- Avoid creating sharp paint boundaries
- Blend strokes into surrounding wall texture
The goal is to make the repaired area gradually disappear into the existing surface.
Match the Original Application Style
Walls often show subtle texture differences depending on how they were originally painted.
Try to match:
- Brush vs. roller texture
- Direction of strokes
- Paint thickness
For example, if the wall was originally rolled, a brush-only touch-up may stand out unless carefully blended.
Pay Attention to Sheen
Sheen differences are one of the biggest reasons touch-ups fail visually.
Even if the color matches perfectly, differences in finish can make repairs obvious under lighting.
Common finishes include:
- Flat/matte: hides imperfections but is harder to clean
- Eggshell: slightly more durable, common in living areas
- Satin: smoother appearance, often used in kitchens and hallways
- Semi-gloss: reflective, used for trim and doors
Always match sheen exactly when possible.
Work in Good Lighting
Lighting can completely change how a touch-up looks.
Check your work:
- In natural daylight
- Under room lighting at night
- From different angles in the room
A patch that looks perfect in one light may stand out in another.
Don’t Overwork the Paint
Once paint starts to dry, brushing over it repeatedly can create streaks or uneven texture.
Instead:
- Apply paint smoothly
- Make a few controlled strokes
- Leave it alone while it dries
Overworking is one of the easiest ways to ruin an otherwise good touch-up.
Use Primer When Needed
Some repairs require more than just paint.
Use primer if:
- You’ve patched drywall or spackle
- The area is stained (water, smoke, grease)
- Bare drywall is exposed
- The surface is porous or uneven
Primer helps paint adhere better and improves color consistency.
Blend Larger Areas Instead of Spot Fixing
Sometimes a single small patch will always stand out slightly.
In those cases, it may be better to:
- Extend the touch-up area slightly outward
- Feather into a wider section of wall
- Blend into a natural break like a corner or trim line
A slightly larger blended area often looks better than a tiny obvious patch.
Keep a Small Paint Kit for Future Repairs
Touch-ups are much easier when you’re prepared.
Store:
- Labeled leftover paint
- A small brush or foam applicator
- Painter’s tape
- Sandpaper
- Small roller (optional)
Keeping everything together makes quick repairs more likely to get done correctly.
Avoid Common Beginner Mistakes
A few small errors account for most visible touch-up failures:
- Using the wrong sheen
- Applying paint too thick
- Skipping surface cleaning
- Not feathering edges
- Using old, partially dried paint
- Ignoring lighting differences
Avoiding these alone improves results significantly.
When Touch-Ups Won’t Be Enough
Sometimes spot painting isn’t the best solution.
Consider repainting a full wall or section if:
- The paint has faded significantly
- Multiple touch-ups are visible
- The wall has widespread scuffing or damage
- Color matching is inconsistent
- The original paint is very old
A full repaint often looks cleaner than multiple patched areas.
Touch-up painting is one of those small skills that makes a big difference in how a home feels.
When done carefully, it restores walls to a near-original condition without the time and cost of repainting an entire room.
The key is not rushing the process. Clean the surface properly, match the paint accurately, apply thin layers, and focus on blending rather than covering. With a little patience, even beginners can make scuffs, chips, and small repairs practically disappear into the wall.