
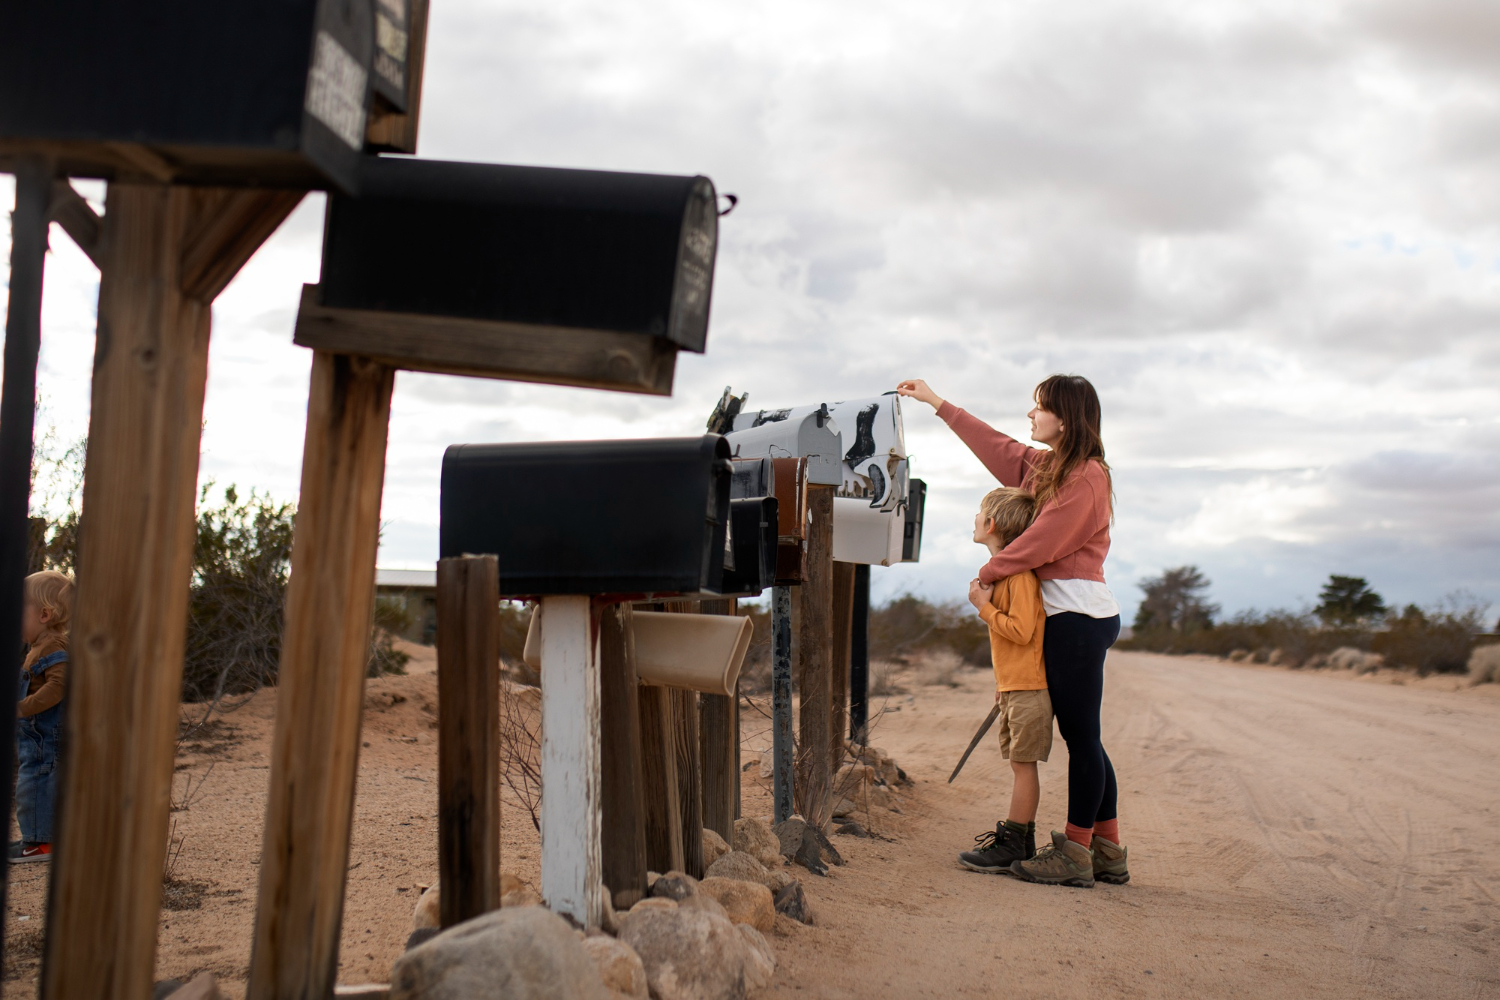
A mailbox doesn’t usually get much attention—until something stops working the way it should. A loose door, a broken latch, a rusted hinge, or a wobbly post can turn a simple daily routine into a small annoyance. The good news is that most mailbox hardware issues are straightforward to fix, and you don’t need specialized tools to get things working properly again.
Whether your mailbox is curbside or mounted to the house, replacing worn hardware is usually faster and cheaper than replacing the entire unit.
Common Mailbox Hardware Problems
Mailbox components take a beating from weather, repeated use, and general wear over time. Some of the most common issues include:
- Rusted or broken hinges
- Loose or missing screws
- Bent or misaligned doors
- Failing door latches
- Wobbly mounting brackets or posts
- Corroded fasteners from rain and snow
Even small problems can worsen quickly, especially in areas with harsh winters or frequent moisture.
What You’ll Need
Before starting, gather a few basic tools and supplies:
- Screwdriver (Phillips or flathead, depending on hardware)
- Adjustable wrench (for post-mounted boxes)
- Replacement hinges, screws, or latch hardware
- Rust-resistant exterior screws
- Lubricant spray (optional, for stuck parts)
- Sandpaper or wire brush (for rust cleanup)
Most mailbox hardware is fairly universal, but it’s still helpful to bring an old part to the store for comparison.
Inspect the Damage First
Before removing anything, take a close look at what’s actually failing.
Ask yourself:
- Is the hinge loose, or completely broken?
- Is the door misaligned or just sticking?
- Are screws stripped or rusted in place?
- Is the issue with the box itself or the mounting hardware?
Identifying the exact problem helps avoid replacing parts that don’t actually need it.
Replacing Mailbox Hinges
Hinges are one of the most common failure points, especially on older metal mailboxes.
To replace them:
- Open the mailbox door fully
- Remove the screws holding the old hinge
- Clean rust or debris from the mounting area
- Align the new hinge with existing holes if possible
- Secure with rust-resistant screws
- Test the door movement before fully tightening
If the original holes are stripped, slightly larger screws or wall anchors may be needed.
Fixing or Replacing the Latch
A faulty latch is often the reason a mailbox door won’t stay closed.
Depending on the design:
- Tighten loose latch screws first
- Replace bent or broken latch components
- Adjust alignment so the catch lines up properly
- Lightly lubricate moving parts if sticking occurs
Even a small misalignment can prevent the door from closing securely, so take time to test the fit as you go.
Repairing Loose or Damaged Mounting Hardware
If the entire mailbox feels unstable, the problem is usually at the mounting point.
For post-mounted mailboxes:
- Tighten bolts securing the box to the bracket
- Replace rusted bolts with exterior-grade hardware
- Reinforce loose connections with washers
For wall-mounted boxes:
- Check screws anchoring the box into siding or brick
- Replace stripped screws with longer or thicker ones
- Use appropriate anchors if mounting into masonry or hollow surfaces
A secure mount is important not just for function, but also for keeping the mailbox from being damaged by wind or repeated use.
Dealing with Rust and Corrosion
Rust is one of the biggest enemies of mailbox hardware.
To manage it:
- Scrub affected areas with a wire brush or sandpaper
- Apply rust-resistant primer or coating if repainting
- Replace severely corroded parts instead of reusing them
- Use stainless steel or galvanized screws for replacements
If rust has spread into structural areas, replacing the affected hardware is usually more effective than trying to restore it.
Aligning the Mailbox Door Properly
After replacing parts, alignment is key.
Check that:
- The door opens and closes smoothly
- The latch lines up without forcing it
- There is no rubbing against the frame
- The door stays shut when closed
Small adjustments to screw tension or hinge position often solve alignment issues.
Weatherproofing Your Repairs
Since mailboxes are exposed to the elements, weather resistance matters.
To extend the life of your repair:
- Use exterior-rated hardware only
- Apply a light coat of lubricant to hinges
- Consider sealing exposed screw heads
- Repaint metal surfaces if bare areas are exposed
A little protection goes a long way in preventing future corrosion.
Common Mistakes to Avoid
Mailbox repairs are simple, but a few mistakes can lead to repeat problems:
- Reusing rusted screws instead of replacing them
- Overtightening screws and stripping holes
- Ignoring misalignment after installation
- Mixing incompatible hardware sizes
- Skipping rust cleanup before installing new parts
Taking a few extra minutes during installation usually prevents future repairs.
When It’s Time to Replace the Whole Mailbox
Sometimes hardware issues are a symptom of a larger problem.
Consider full replacement if:
- The mailbox body is heavily rusted or cracked
- Multiple components are failing at once
- The mounting post is rotted or unstable
- Repairs no longer hold securely
In these cases, replacing the entire unit is often more cost-effective than ongoing repairs.
Replacing mailbox hardware is one of those small home maintenance tasks that delivers immediate, visible results.
A properly functioning mailbox not only looks better but also ensures your mail stays secure and protected from the elements.
With a few basic tools and the right replacement parts, most homeowners can complete these repairs in under an hour. Taking the time to fix loose hinges, worn latches, and unstable mounts helps extend the life of your mailbox and keeps it working reliably year-round.